If you searched for house drawing inside, you’re probably trying to show a home’s layout for a listing, renovation idea, or marketing package.
The tricky part: people use the phrase to mean different things—anything from a quick room sketch to a polished 3D interior render. This guide breaks down the common formats, when to use each, and how to produce a listing-ready result without getting stuck in architectural software.
One important note for real-estate use: your goal is clarity (how rooms connect, where key features are), not construction-grade precision. You’ll still want basic accuracy and a clear disclaimer.
What people mean by “house drawing inside” (3 common formats)
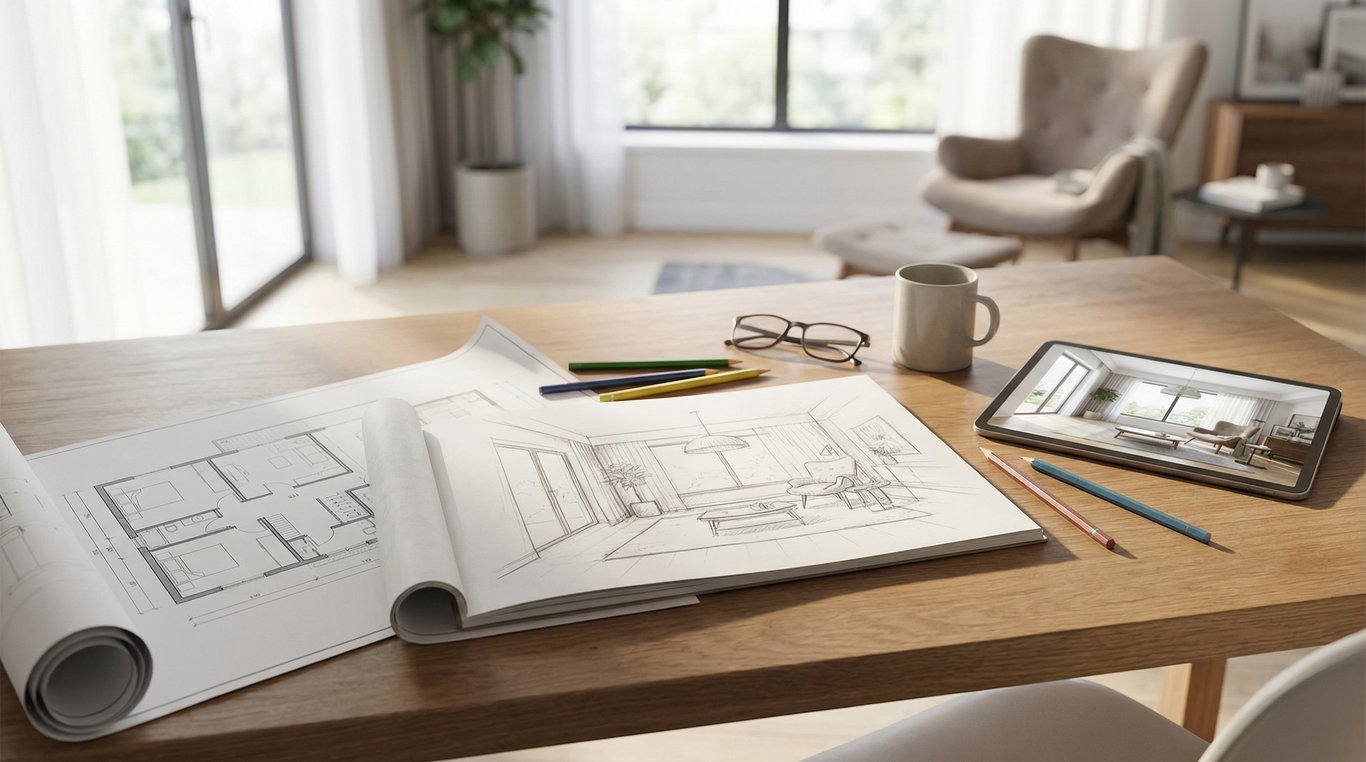
An “inside house drawing” usually means either a floor plan, a basic room sketch, or a 3D interior render—each useful for a different purpose.
Simple hand sketch with room labels
This is the fastest “good enough” option when you need to communicate the layout:
- Draw the perimeter and major interior walls
- Label rooms (Kitchen, Living, Bedroom 1, etc.)
- Add arrows for flow (optional)
- Note obvious features: stairs, fireplace, main entry, sliding doors
Use a hand sketch when:
- You’re preparing for a photographer, stager, or contractor visit
- You need an internal reference for marketing planning
- You don’t have measurements yet, but want to capture the layout
Avoid using only a sketch when:
- You’re publishing it on an MLS where buyers expect a clean plan
- The home has a complex layout where scale and proportions matter
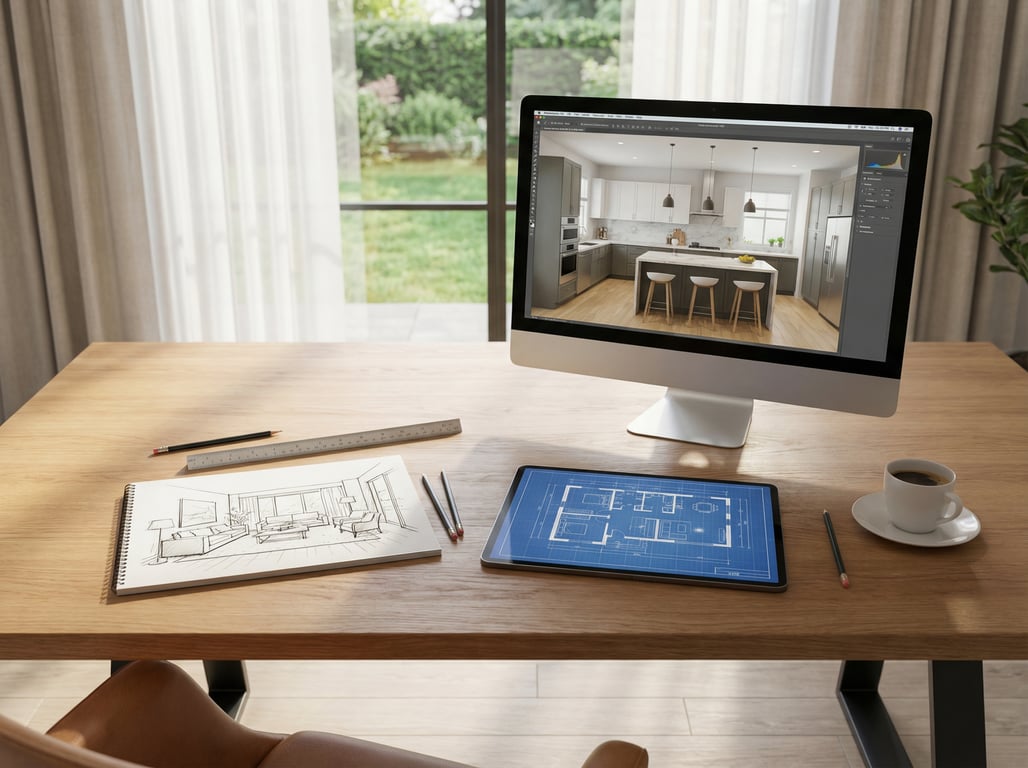
Clean 2D floor plan
A 2D floor plan is the most common “inside house drawing” for listings because it’s:
- Easy to scan quickly (buyers understand layout in seconds)
- Compact (fits MLS/media galleries well)
- Neutral (doesn’t imply finishes or design choices)
A strong 2D plan for listings typically includes:
- Room names and approximate dimensions (if available)
- Door swings or door locations
- Stairs clearly marked (up/down if multi-level)
- Relationship and flow between spaces
3D render / walkthrough stills
A 3D render (or stills pulled from a walkthrough) is more about visualization than measurement. It’s useful when you want buyers to feel the space or understand a proposed design.
Common use cases:
- New builds or major remodels (help people “see” the finished result)
- Vacant homes (add warmth and context)
- “Before/after” marketing assets (even if the after is conceptual)
Choose the right format for your goal
Choosing the right inside house drawing format comes down to the decision you’re helping someone make.
For MLS listings: when a 2D plan is enough
A clean 2D floor plan is usually the best ROI for a listing.
Pick a 2D plan when:
- The layout is a key selling point (open concept, split bedrooms, bonus rooms)
- You want fewer buyer questions (“Where’s the laundry?”)
- You need an easy asset to share across MLS, brochures, and social
Add-ons that often help:
- A simple label like “Main Level” / “Upper Level”
- Total square footage shown as “approx.” (if you have a reliable source)
For renovations: when you need a ‘concept’ visualization
If the goal is to communicate a proposed change (remove a wall, add an island, convert a den to a bedroom), a concept sketch or basic 3D visualization can beat a strict plan.
Use a concept-focused inside house drawing when:
- You’re pitching a renovation idea to a homeowner
- You want to show furniture placement or sightlines
- You’re testing multiple options (Plan A vs Plan B)
Tip: keep the underlying plan simple and clearly label what’s “existing” vs “proposed.”
For marketing: combining plan + before/after-style visuals
For marketing packages, combining formats usually performs best:
- 2D plan for orientation and navigation
- A few interior visuals (photos or renders) for emotional impact
A practical combination for a listing:
- 2D floor plan (all levels)
- Photo set (key rooms + flow)
- Optional: 1–3 conceptual render stills for awkward/empty areas (only if clearly labeled)
Fast ways to make an inside house drawing (no special software)
You can create a usable inside house drawing with basic tools if you focus on layout clarity and consistent labeling.
Start from measurements: basic outline + room labels
If you can take rough measurements, you can create a simple but accurate layout.
Steps:
- Sketch the exterior footprint (rectangles first, then bumps/angles)
- Place major fixed elements: stairs, chimney/fireplace mass, garage connection
- Add interior walls based on room boundaries
- Mark door openings and main windows (optional but helpful)
- Label each room consistently (e.g., “Primary Bedroom” vs “Master”)
Measurement tips:
- Measure wall-to-wall along baseboards for rough plans
- Note ceiling height only if it’s a selling point (vaulted, low clearance areas)
- Take photos of tricky junctions (stair landings, angled walls) for later reference
If you don’t have dimensions at all, your best first step may be to find floor plans by address before you start drawing from scratch.
Use graph paper or a template: readability tips
Graph paper is a “no-software” shortcut to cleaner results.
Readability checklist:
- Use one scale per level (even if it’s informal)
- Keep line weights consistent (thicker for exterior walls, thinner for interior)
- Center labels inside rooms, avoid overlapping walls
- Use standard abbreviations sparingly (e.g., WIC for walk-in closet)
If you’re sharing the drawing with the public, re-draw (or trace) it neatly—messy lines reduce trust.
Photo-based drafting: when it’s acceptable and when it’s not
Some tools and workflows let you infer a plan from photos or a video walkthrough. This can be acceptable when:
- You need a quick orientation aid
- You’ll label it “approximate” and avoid dimensions
- The layout is simple (small condo, straightforward ranch)
It’s usually not acceptable when:
- The home has multiple levels, odd angles, or additions
- You plan to include room dimensions
- You need it for permitting, construction, or precise renovation work
In those cases, it’s better to measure properly or use a scan-to-plan service.
Online tools and services (what to look for)
Online options range from DIY blueprint makers to professional scan-to-plan services. The best choice depends on how accurate you need to be and how quickly you need the deliverable.
Scan-to-plan tools/services: deliverables to ask for
If you’re hiring help (or using a scanning workflow), ask what you’ll receive:
- PDF floor plan (print-ready)
- Image files (PNG/JPG) sized for MLS
- Separate plans per level + a combined overview (if multi-level)
- Optional: measured room dimensions and total area (clearly sourced)
Also ask about:
- Revision policy (how changes/corrections are handled)
- Turnaround time
- Whether they include a disclaimer for listing use
Blueprint maker tools: limitations for real properties
A free building blueprint maker can be helpful for learning or rough layouts, but be careful using it for real listings.
Typical limitations:
- Templates encourage “perfect” right angles that don’t match real homes
- Default symbols/fixtures can be misleading if you’re guessing
- Outputs may look like construction drawings (which can create expectation of accuracy)
If you use a blueprint-maker style tool for a listing:
- Keep it simple: layout + room names
- Add “Not to scale / approximate” where appropriate
- Avoid construction-style notes (beam sizes, structural callouts)
Renderer vs 3D modeling: understanding the difference
If you’re considering 3D visuals, it helps to understand terminology:
- A 3D model is the digital geometry of the space (walls, openings, objects).
- A render is an image created from that model using lighting/material settings.
A renderer-focused workflow can produce great marketing images, but it doesn’t automatically mean the underlying model is measurement-accurate.
For a plain-language explanation of what a digital media renderer is (and how it relates to real-estate visuals), see that guide.
If you’re comparing options for output quality, workflow, and expectations, this breakdown of digital media renderer vs 3D rendering is a helpful companion read.
Quality checklist (so it’s usable in listings)
Use this floor plan quality checklist before you upload anything to an MLS or add it to a marketing package.
Consistent scale and room naming
- Use one consistent scale per level (even if informal)
- Keep room names consistent across all materials (plan, captions, brochure)
- Use buyer-friendly labels (e.g., “Laundry” instead of “Utility” if that’s what it is)
Indicate key features: stairs, fireplaces, closets, doors
At minimum, mark:
- Stairs (and direction if possible)
- Closets (especially walk-ins)
- Main entry and garage entry
- Fireplace location
- Door locations (or at least openings) so flow makes sense
Optional but helpful:
- Covered patios/decks
- Laundry location
- Kitchen island (if it affects circulation)
Add disclaimers: approximate measurements, not for construction
For listing use, include a simple disclaimer such as:
- “Floor plan is for marketing purposes only. All measurements are approximate and should be independently verified.”
- “Not to scale. Not for construction.”
This reduces misunderstandings and helps manage expectations for accuracy.
Key takeaways
- Disambiguate the query early to match intent and reduce bounce.
- Emphasize accuracy/disclaimer for real-estate use (avoid legal issues).
- Link to the ‘find floor plans by address’ article as the next step if users don’t have dimensions.
FAQ
Is a floor plan the same as a blueprint?
Not exactly. A floor plan shows room layout and flow; a blueprint usually implies construction-grade drawings with detailed specs. For listings, a floor plan is typically the right level of detail.
Can I draw a floor plan from photos?
You can approximate a layout from photos or video, but accuracy is limited. It’s best for simple spaces and should be labeled approximate—especially if you include any dimensions.
Do I need an architect to create a floor plan for a listing?
Usually no. Many agents use scan-to-plan services, photographers, or DIY tools for marketing floor plans. You may need an architect or drafter if the plan is for permitting or construction.